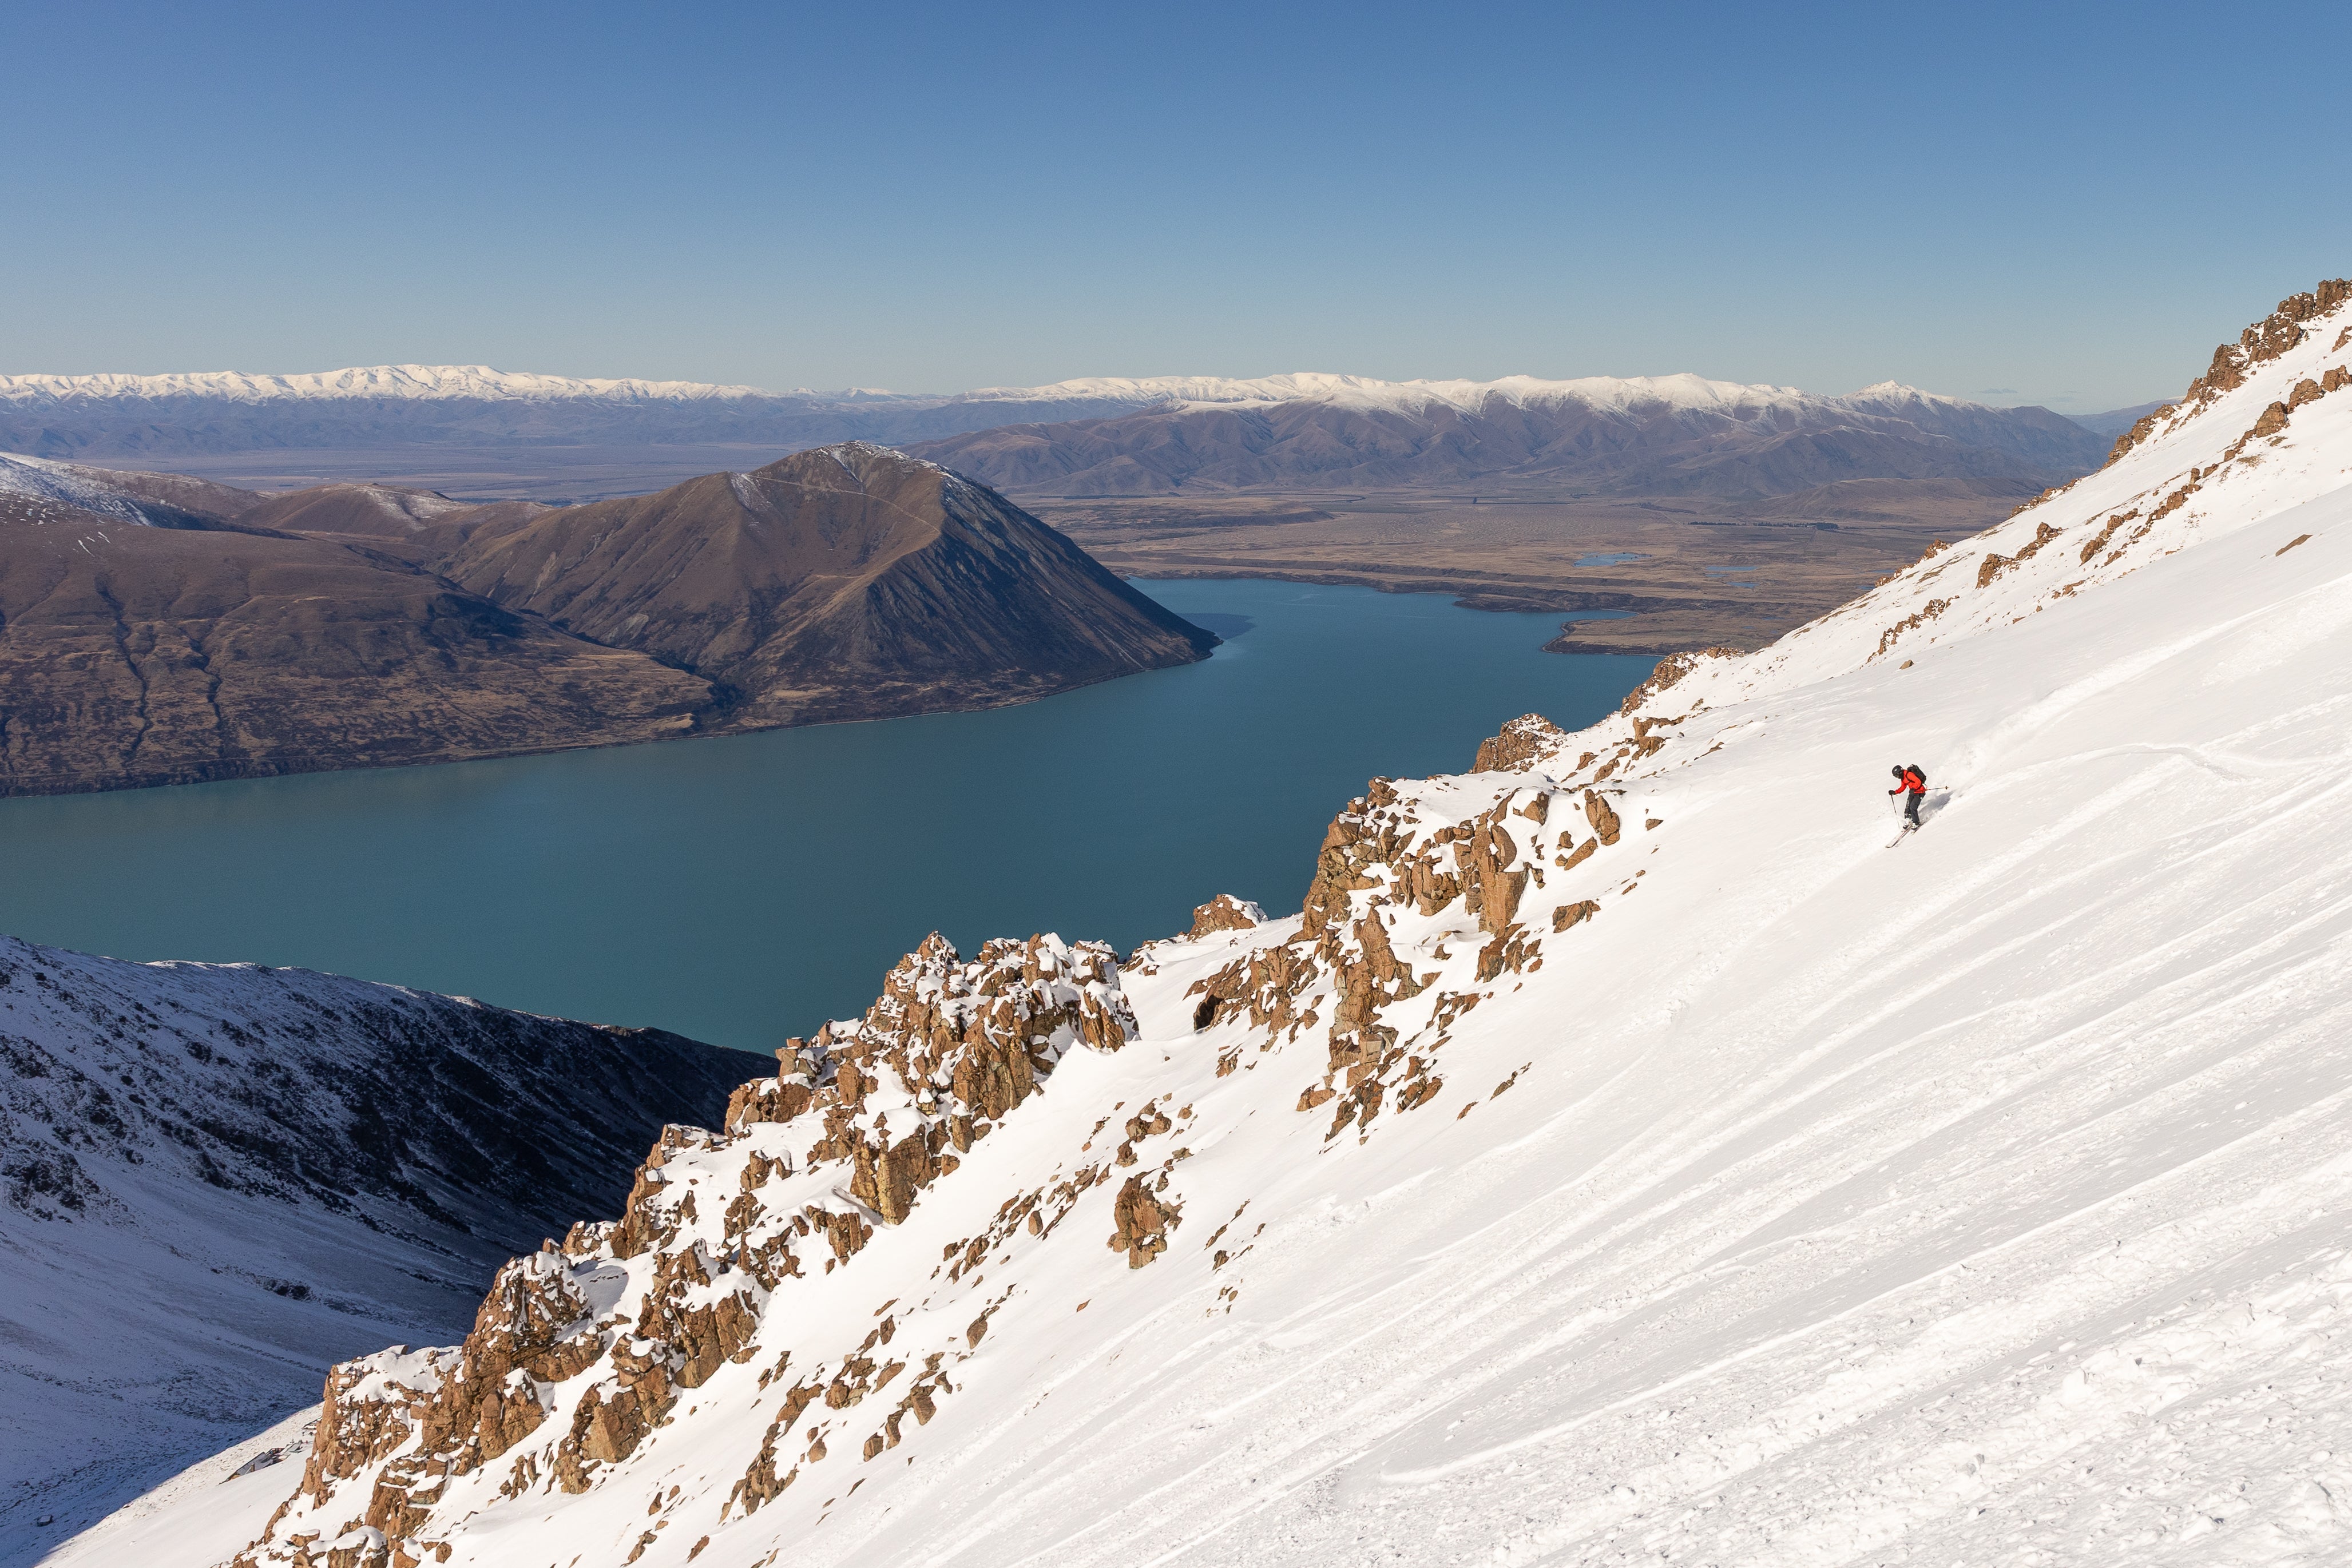
Fresh tracks, no lift lines, just you and the mountain – that's the pull of ski touring. But the backcountry plays by different rules, and a dialled set-up is only half of it. Get your gear sorted and keep your avalanche skills sharp, and a day out the gate becomes one of the best things you’ll do on snow. Here’s how to line up your touring kit – bindings, skins, packs, fuel and the safety essentials with a hand from our Gear Guides at Racers Edge Wānaka, where you’ll find the whole ski touring range in one place.
From the gear that gets you up the hill to the know-how that gets you home safe, scroll down for the rundown.

Bindings: the heart of the set-up
Touring bindings are what set a backcountry rig apart – they free your heel for the walk up, then lock down for the ride back. For the big days, most riders run lightweight tech (pin) bindings. If you’d rather one setup that skins uphill and still skis like a proper alpine binding on the way down, a hybrid is the go: the Salomon and Atomic Shift2 are a consistently popular pick, and Marker’s Duke PT is one of the few hybrids with a true pin toe for the climb.
Whichever way you go, a touring binding needs mounting and setting up properly; release values matter just as much out here as they do inside the ropes. Our workshop can mount alpine, telemark and touring set-ups and dial them to how you ride – or browse ski bindings to see what’s on the wall.
Skins: your grip for the climb
Climbing skins stick onto the base of your skis or splitboard and grip the snow so you can walk uphill. They come in mohair (fast and light), nylon (grippier and hard-wearing) or a blend of both. The key is a proper trim to your exact ski shape, plus looking after the glue so they keep sticking all season. We stock skins from G3, Black Diamond and Pomoca (splitboard skins included), and offer a skin-fitting service in the workshop, so you leave with them cut, stuck and ready to climb.
Packs: carry it right
A good touring pack carries your layers, food and safety gear, and lets you strap your skis or board on for the boot-pack sections. Look for something in the 20–35L range with a dedicated pocket for your avalanche tools (so your shovel and probe are quick to grab), ski or board carry straps, and room for a hydration bladder – packs like the Dakine Poacher are built for exactly this. Some riders step up to an airbag pack for extra protection if you're caught in a slide. Have a look at our snow packs and hydration packs to find the right fit.

Nutrition and hydration: fuel the mission
Touring burns serious energy – you’re climbing for hours before you drop in so pack more food than you think you’ll need. A mix of quick snacks (bars and gels) and real food keeps you going, and electrolytes help on the big, sweaty climbs. Cold is the catch with drinks: an insulated bottle or flask stops your water freezing, and if you run a hydration bladder, blow the water back down the hose after each sip so the line doesn’t ice up. Stock up on food and nutrition and grab an insulated bottle or flask before you head out.
Safety: the part you can’t skip
Here’s the honest bit: the backcountry is avalanche terrain, and no amount of gear makes it risk-free. Before you head out the gate, get these three things sorted – the Mountain Safety Council calls it being avalanche-ready:
• Get the training. Don’t head into the backcountry without it. At a bare minimum, do an in-person Avalanche Skills Course (Avy 1) so you can read terrain, make good calls and perform a companion rescue. The Mountain Safety Council’s free online avalanche course is a solid primer, but it’s a starting point, not a replacement – and local outfits such as Aspiring Guides run Avy courses right here in Wānaka.
• Get the gear – and know how to use it. A transceiver (beacon), probe and shovel are the non-negotiable trio, carried by everyone in the group, every time. Practise with them on easy, controlled terrain until a rescue is second nature. We stock the full kit from the likes of Black Diamond and BCA, so come and get kitted out.
• Check the forecast. Read the New Zealand Avalanche Advisory at avalanche.net.nz while you’re planning and again before you leave – it gives the day’s danger rating and avalanche problems for your region.
On top of that: travel with experienced partners and run a trip-planning session with your group before you go, so everyone’s agreed on the plan, the conditions and what they’re each comfortable with. Tell someone your plan and expected return, and carry a personal locator beacon and a first-aid kit for the just-in-case. Above all, always be willing to turn around. This guide is a starting point, not a substitute for proper avalanche training – if you’re new to the backcountry, do a course before you rely on any of it.

Get your set-up dialled
Keen to explore beyond the ropes? Come and see the crew at Racers Edge, 22 Ardmore Street, where our Gear Guides can talk you through bindings, skins and packs, mount and set up your touring gear in the workshop, and help you build a rig that suits our terrain. Browse the full ski touring range to shop bindings, skins, packs and safety gear in one place. Just remember the golden rule: get trained, carry your avalanche gear, and check the forecast before every trip.