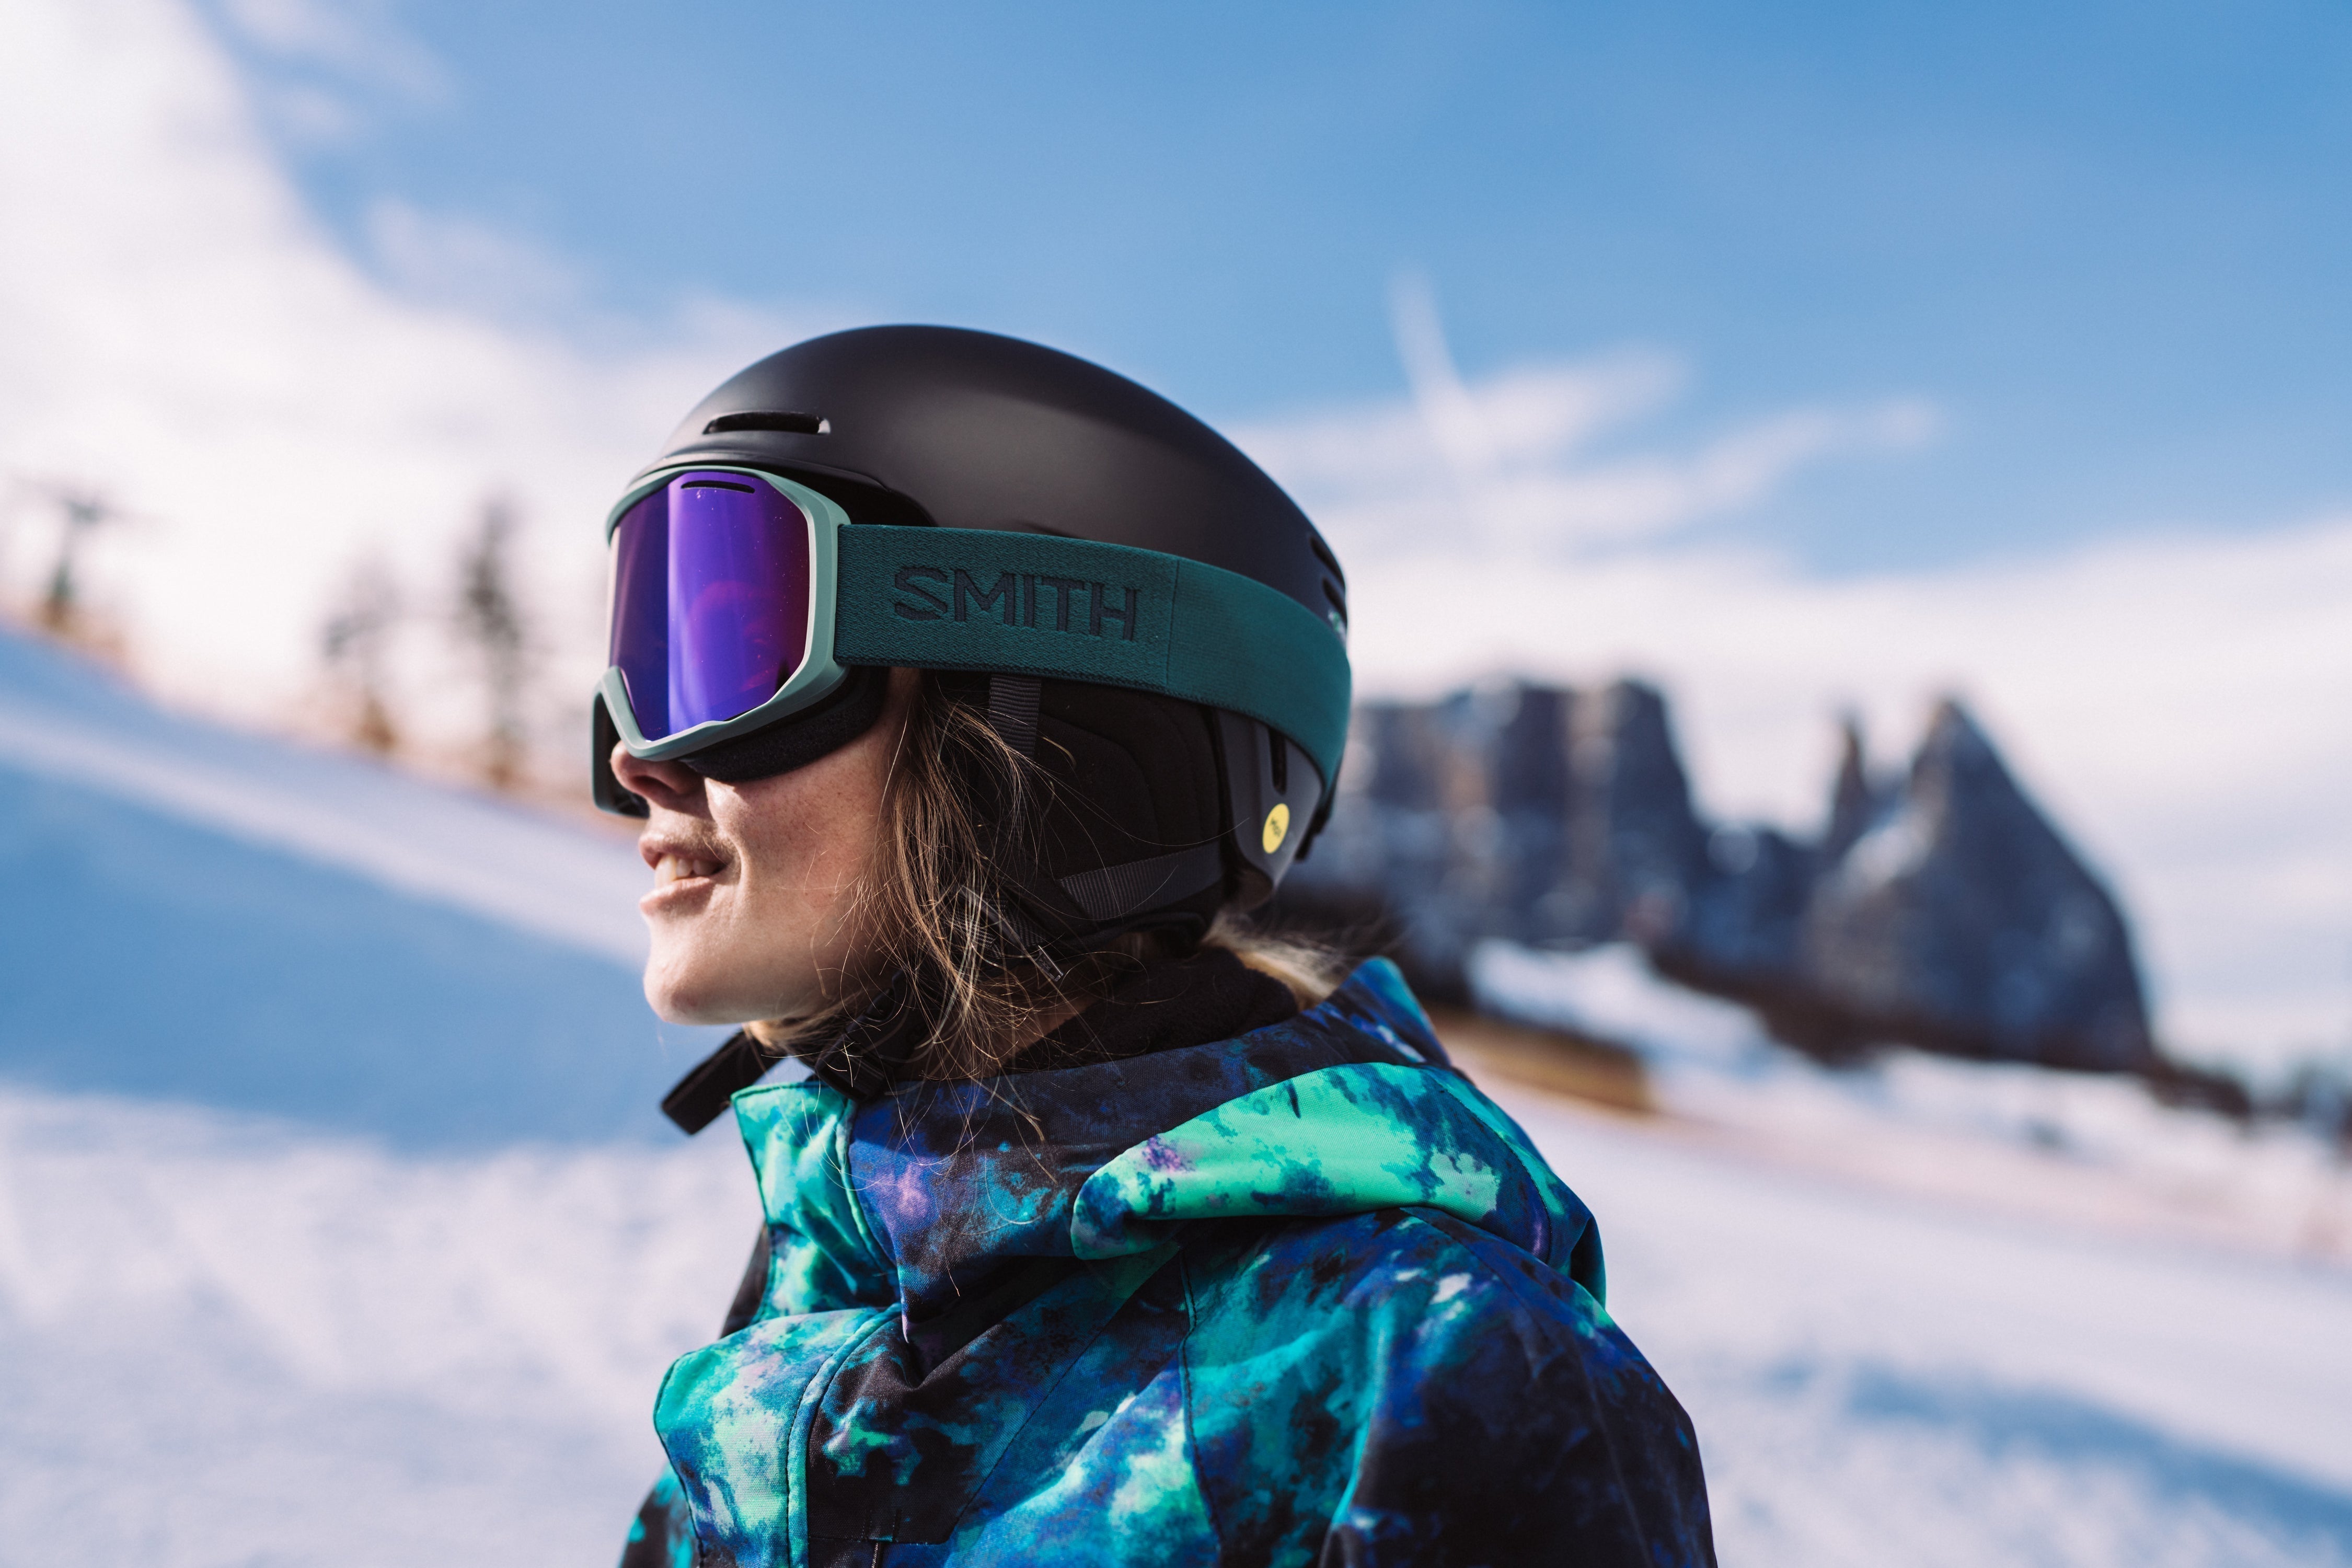
Your helmet and goggles are the two bits of kit that do the most for your day on the hill – one protects your head, the other keeps you seeing clearly, and they work best when chosen together. It really comes down to three things: certified, comfortable and compatible. Get those right (with no goggle gap) and you’ll barely think about them again. Pop into Racers Edge in Wānaka and our Gear Guides will size you up in person, but here’s the rundown first – from MIPS to lens tints.

Start with the helmet
A modern snow helmet is light, warm and barely noticeable once it’s on – a world away from the bulky lids of the past. More importantly, it’s there to protect your head if a day goes sideways, whether that’s catching an edge on the groomers or misjudging a landing in the park. Look for one certified to a recognised snow-sports standard – ASTM F2040 or CE EN1077 – so you know it’s built and tested for the job.
MIPS vs non-MIPS: what’s the difference?
You’ll see a lot of helmets badged with MIPS – short for Multi-directional Impact Protection System. It’s a thin, low-friction layer inside the helmet that lets it shift a few millimetres on impact, designed to reduce the rotational forces that come with an angled fall (the kind most real-world crashes involve).
Do you need it? Non-MIPS helmets still meet the same safety certifications and protect well against direct impacts, and they’re often a touch lighter and cheaper. MIPS adds a layer of protection against those twisting impacts, which is why a lot of riders choose it. Both are solid – it comes down to your budget and how you ride, and our Gear Guides can talk you through the trade-offs. One thing worth knowing: MIPS won’t make up for a helmet that doesn’t fit, so the right size and adjustment still matter most.
Getting a helmet to fit
A helmet only does its job if it fits properly. It should feel snug all the way around with no pressure points, sit level on your head just above your eyebrows, and stay put when you shake your head with the strap undone.
The features worth having are a dial adjustment system (like BOA) to fine-tune the fit, adjustable vents for warm and cold days, and removable ear pads and liners you can swap as conditions change. This is exactly the sort of thing worth doing in person – pop in and we’ll get you sorted.

Choosing goggles: lenses and light
Goggles are all about seeing clearly in changing light, and the key number is VLT – visible light transmission, or how much light the lens lets through.
- Low-light and flat-light days want a high-VLT lens (think 40% and up) in a rose, amber or yellow tint to lift contrast when the cloud rolls in.
- Bright, bluebird days want a low-VLT lens (roughly 10–20%) in a darker, mirrored tint to cut glare.
Southern Lakes weather can swing from one to the other in an afternoon, so plenty of riders go for an interchangeable-lens setup or a photochromic lens that adjusts on its own. Lens shape matters too: spherical lenses curve both across and up-and-down, which Smith describes as giving a wider field of view and more natural vision, and it can help cut fogging – flatter cylindrical lenses are usually a bit friendlier on the wallet. Beyond that, look for good ventilation and anti-fog, a comfy face foam, and full UV protection.
Avoiding the dreaded goggle gap
“Goggle gap” is the strip of exposed forehead between the top of your goggles and the brim of your helmet. It’s not just a look – that gap lets cold air and snow straight in. The trick is to treat your helmet and goggles as one system rather than two separate buys: brim shape, goggle frame height and strap position all decide whether they sit flush. Matching them by brand is the easy route – Anon, Giro, Oakley, Smith and Sweet Protection all design their helmets and goggles to seal neatly together.
A quick way to check the fit in-store:
1. Put the helmet on first.
2. Pull your goggles up to meet the helmet.
3. Look for a smooth seal across your forehead – no gap.
4. Make sure the strap sits securely over the helmet, not riding too high or low.
5. Turn your head and move around to check nothing shifts.
6. Check the pressure on your nose – if the goggles are restricting your breathing or talking, they're not the right fit.
If there’s a visible gap, it usually means the shapes are mismatched, the helmet’s sitting too high, or the goggles are too small for that shell – which is why pairing matters as much as brand. And if the goggles are pinching your nose or sitting too tight on your cheeks, ask us about an alternative fit (also called Asian fit) – designed for lower nose profiles or higher cheekbones, it takes the pressure off and seals more comfortably. Best to try them on together before you buy: a five-minute fix in-store beats a cold surprise on the chairlift.

The brands we stock
We carry helmets and goggles from brands that take fit and integration seriously, so there’s plenty to try on and pair up:
- Anon – helmets with WaveCel or MIPS on selected models, BOA fit and on-the-fly venting, plus goggles built to pair straight to them.
- Giro – big on MIPS (including Spherical Technology powered by MIPS on some lids), low-profile shapes, and goggles designed to match Giro helmets seamlessly.
- Oakley – adjustable fit and venting, with helmets and goggles made to seal together and strong anti-fog performance.
- Smith – fit-focused helmets and spherical goggles known for a wide field of view and tidy helmet integration.
- Sweet Protection – helmets with adjustable systems and fit pads to dial in comfort, plus an adapted fit made to pair with Sweet goggles for the clearest vision.
- Dragon – goggles only, but a strong shout: Lumalens colour-optimised lenses for changing light, an industry-leading anti-fog coating with a dual-lens thermal barrier, replaceable lenses, and a strap and fit built for helmet wearers.
A few care tips
Look after them and they’ll look after you. Never wipe the inside of a goggle lens when it’s wet – you’ll damage the anti-fog coating, so just let it air-dry. Store both somewhere dry and out of a hot car. And if your helmet takes a serious knock, replace it – the protection is designed to absorb one big impact, not several.
Quick-fire helmet and goggle questions
Do I really need MIPS? It’s not essential – non-MIPS helmets are certified and safe – but it adds protection against twisting impacts, which is why many riders choose it. Your call on budget and preference.
How often should I replace my helmet? After any significant impact, and generally every few years as the materials age. If you’re unsure, bring it in and we’ll take a look.
Can I wear my glasses under goggles? Yep – look for OTG (over-the-glasses) goggles, made with extra room and channels for the arms of your frames.
One lens or interchangeable? If you only ride bluebird days, a single low-VLT lens is fine. If you ride whatever the weather does, interchangeable or photochromic saves the day.
What about the kids? Same rules apply, just scaled down. A proper-fitting kids’ helmet matters just as much – we’ll fit them right.
Come try it on
The best way to choose a helmet and goggles is to get them on your head and see how they feel together. Pop into Racers Edge, 22 Ardmore Street, and our Gear Guides will help you find a snug fit, the right lens for our conditions, and a combo with no goggle gap. Alternatively, hop online and Shop snow helmets and goggles to get set for the season.